
TAKE THE
FEELING WITH YOU.
Original designs and useful ideas for your next chapter on the road.
Explore the collectionA community for life on the road—in cars, SUVs, vans, pickups, buses, RVs and trailers.
From a simple sleeping setup to a home on wheels.
Find campsites, builders, and local communities. A city, a ZIP code, or wherever the road takes you.
A community for car, SUV, van, and RV life. Share your journey, swap practical ideas, meet builders, and find rigs and gear for your next chapter. From a simple sleeping setup to full-time travel, you belong here.
Car-camping checklists, SUV sleeping layouts, and budget van-conversion ideas. Practical guides for wherever you’re starting.
From weekend escapes to full-time freedom. Meet the rigs that make it possible.
All rigs · Every kind of home on wheels.
DESIGN PREVIEW — Vehicle listings, photos, names and prices are illustrative, not verified vehicles for sale.
Meet the makers. Find builders and services by area, explore their work, and read experiences shared by members.
Explore the builder directoryReal stories, unexpected detours, useful advice, and people who understand why you took the scenic route.
Document your journey with photos and a map. Add friends, share stories, and join groups for every kind of traveler.
Explore the communityRigs, solar gear, build parts, and camp essentials. Discover nearby listings and give useful things their next chapter.
Original designs and useful ideas for your next chapter on the road.
Explore the collectionOpen your own storefront, list useful things, and connect with buyers nearby.
Explore Member ShopsSeparate the vehicle budget from the living setup, choose the trips you want to take first, and leave room for changes. A useful first version can be much simpler than a finished home on wheels.
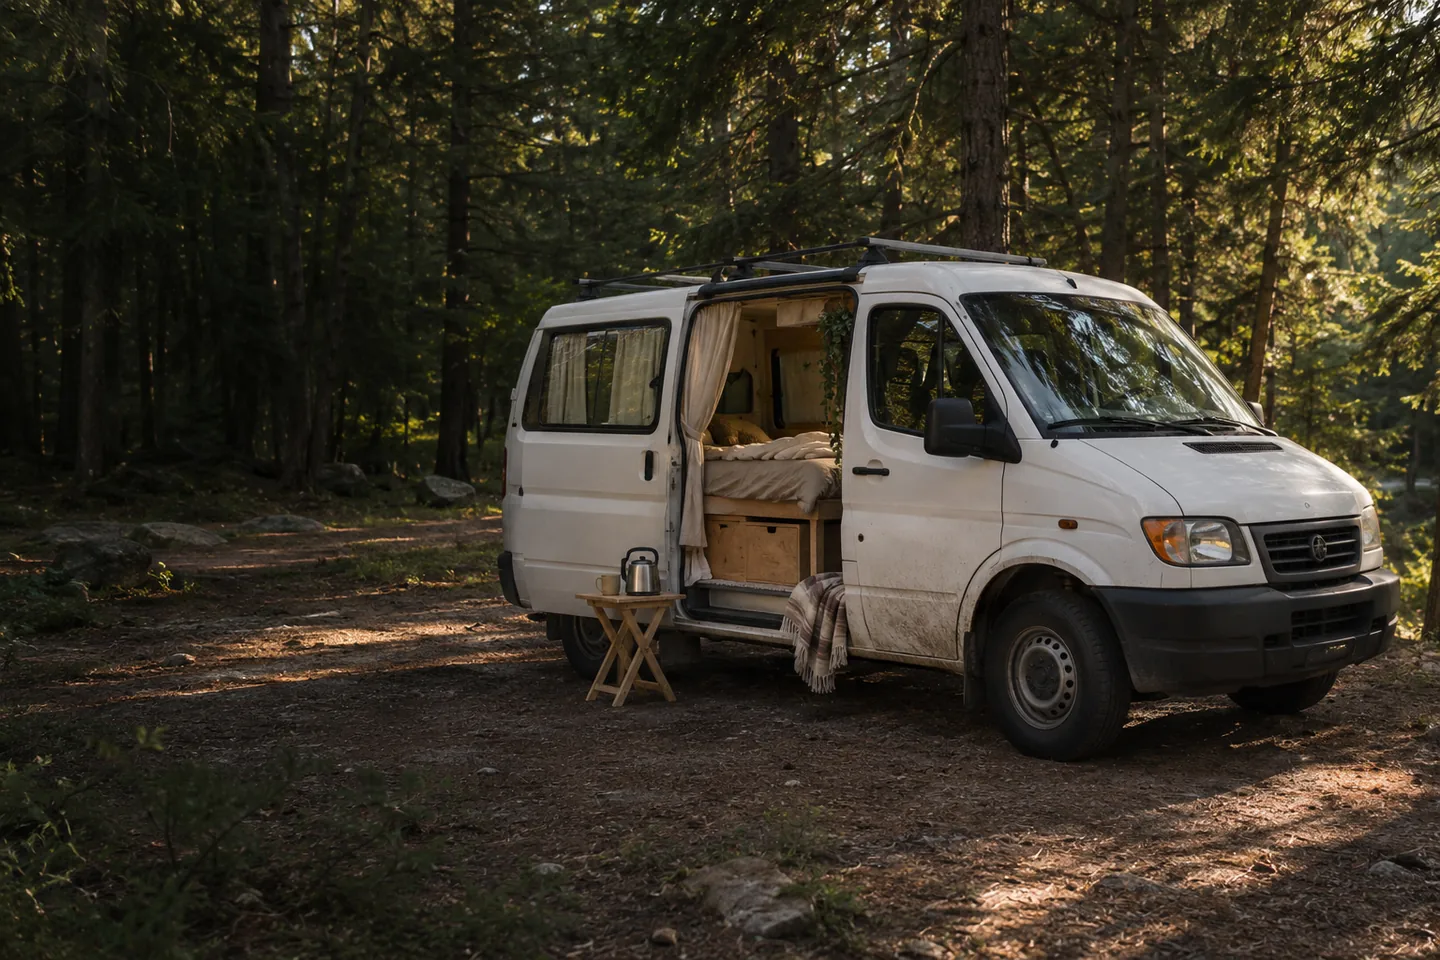
Before buying a van for a conversion, arrange an independent inspection and understand its service history. A tidy interior does not tell you the condition of the brakes, tires, cooling system, or body. Keep repairs and maintenance in a separate budget so they do not disappear inside a furniture allowance.
Record the vehicle’s load limits and check how your plans affect registration, insurance, and any inspection requirements with the relevant providers. Requirements depend on the vehicle and where it is registered. Count people, water, equipment, materials, and luggage when planning weight; a large empty cargo area is not proof that everything will fit within the limits.
For example: “Two people, two nights at a campground with toilets, simple outdoor meals, and phones to charge.” This is a planning example, not a promise about what every van needs. It creates a clear list of jobs for the first setup and a reason to defer features you will not use yet.
List sleeping, water, food storage, lighting, privacy, hygiene, and charging needs. For each, write the simplest workable option and the compromise it involves. A portable container may cover a short trip’s water routine, while longer travel could demand a different system. Start with your use case rather than somebody else’s finished build.
The example below divides a $1,000 planning allowance for a basic removable living setup. It is an illustration of budgeting, not a price quote or a claim that these items can be purchased for these amounts. It excludes the vehicle, repairs, insurance, registration, campsite fees, and professional installation. Replace every allowance with current local quotes before buying.
| Category | Allowance |
|---|---|
| Sleeping surface and bedding | $250 |
| Removable storage and suitable restraints | $150 |
| Water, food storage, and simple camp supplies | $150 |
| Privacy, lighting, and basic charging | $150 |
| Tools, small materials, and consumables | $100 |
| Uncommitted reserve | $200 |
| Total planning allowance | $1,000 |
If quotes exceed the allowance, reduce the first version’s scope instead of spending the repair reserve. Track delivery, fasteners, connectors, finishes, returns, and installation time. Small omitted items can change whether a plan is affordable.
Keep the first trip simple enough that missing a convenience does not create an emergency. Confirm your destination’s vehicle-camping rules and facilities directly. Our first-night checklist works for vans as well as smaller vehicles.
A fixed electrical system is more than a battery, and a water system is more than a tank. Before purchasing components, ask an appropriately qualified installer what the complete design requires, including protection, mounting, routing, ventilation where required, access for service, and testing. Do the same for fuel-burning heating or cooking equipment. This is where an incomplete shopping list can turn into an expensive rebuild.
Do not improvise indoor use of outdoor camping appliances. The National Park Service’s RV fire-safety guidance explains important considerations for cooking, heating, and getting out safely. Follow the equipment manufacturer’s instructions and the vehicle’s guidance; this planning article is not an installation manual.
Give a builder your vehicle year and model, passenger needs, proposed layout, intended trip length, and spending ceiling. Ask the quote to distinguish materials, labor, supplied equipment, exclusions, and changes. Clarify what documentation, testing, maintenance instructions, and warranty terms you will receive. Compare the included work, not just the total.
Browse builders and services when you need specialist help, and inspect used parts carefully through the marketplace. A community example can spark an idea, but verify suitability and condition for your own vehicle. The goal is a setup you can use, maintain, and afford to keep improving.
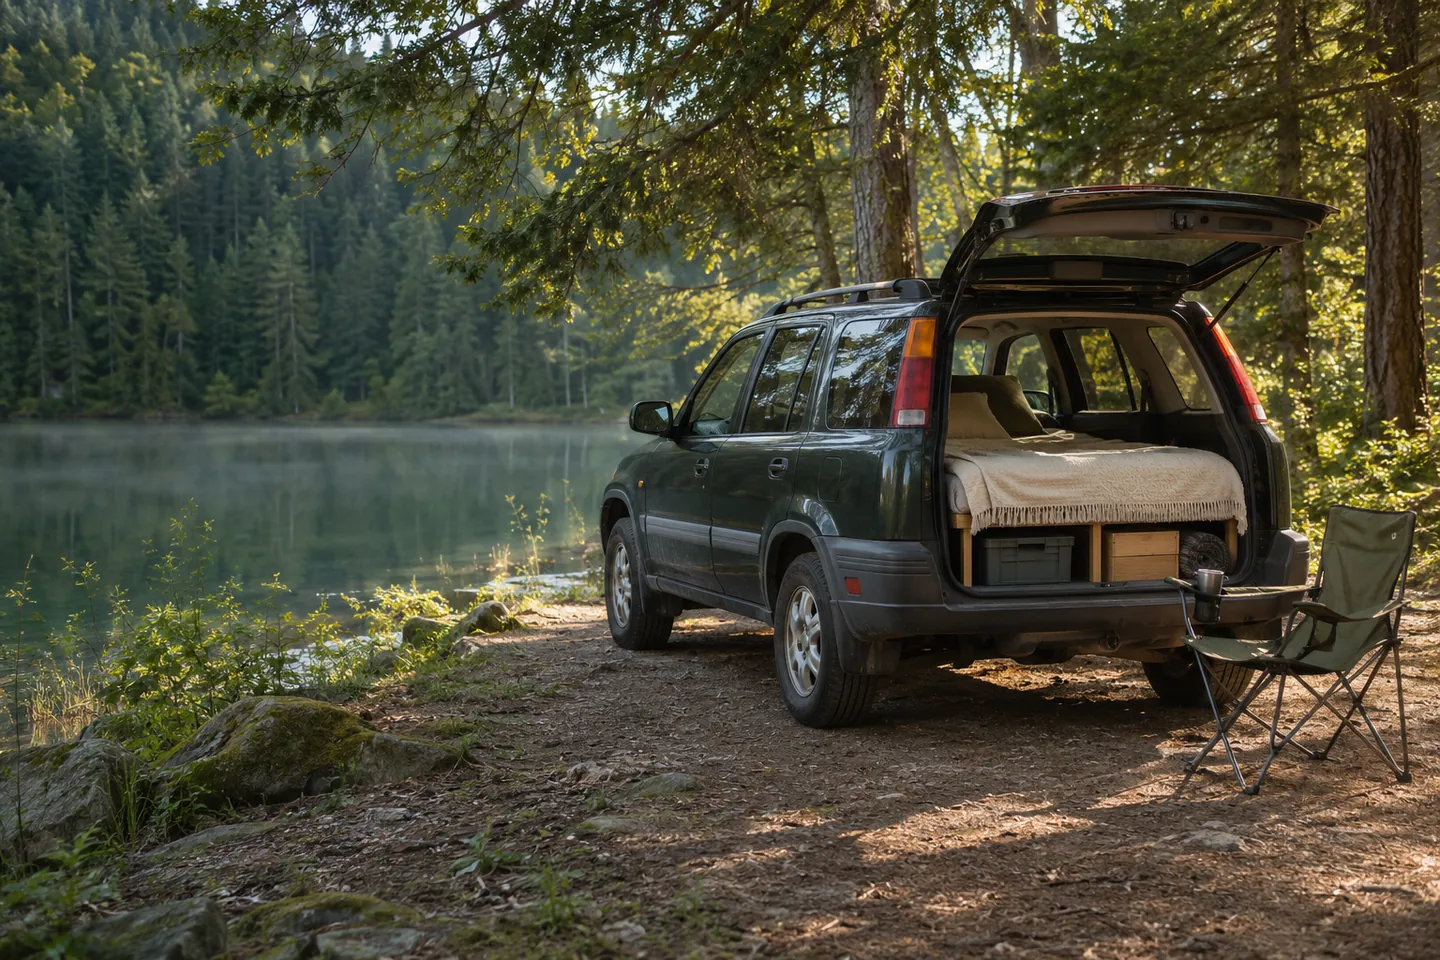
Plan your first car-camping night with a simple sleeping setup, a practical packing checklist, and a short test trip before buying a build.
Read the guideCompare SUV sleeping layouts, measure headroom and storage, and plan a removable platform around your vehicle, passengers, and daily routine.
Read the guide